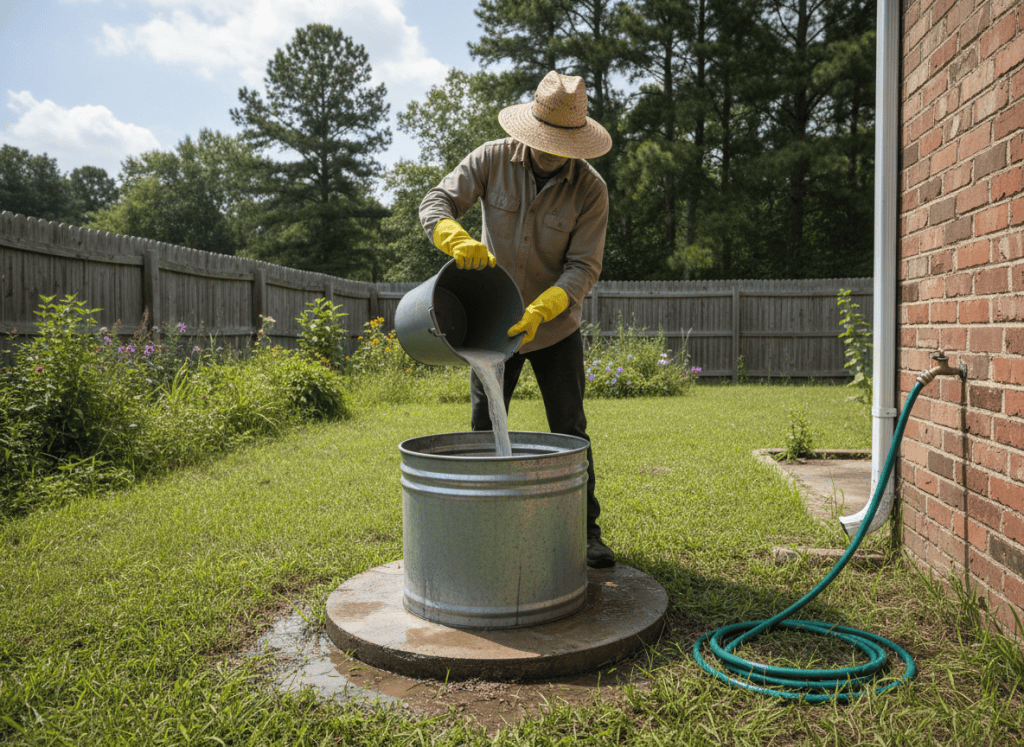
Quick answer: To shock a private well, pour diluted unscented household bleach into the well, circulate it until every faucet smells of chlorine, and let it sit for 6–12 hours (overnight is best). Then flush the chlorinated water outdoors until the smell is gone and retest for coliform bacteria about 3 days later. Most household wells need somewhere between a few cups and a gallon of bleach, depending on how much water is standing in the well.
Shock chlorination is the standard first response when a well tests positive for coliform bacteria, after flooding, or after any work that opens the well (a new pump, a replaced pressure tank, a repaired pipe). It is a one-time disinfection, not a permanent fix, and it only works if you use enough chlorine for long enough.
When you should shock your well
Shock chlorination is recommended when:
- A lab test comes back positive for total coliform or E. coli bacteria (see what a positive coliform test means).
- The well was flooded or surface water may have entered it.
- The well was opened for repairs (pump, pipes, pressure tank, well cap).
- You just bought a home with a well that has not been disinfected or tested recently.
- The water developed a new odor or slime that may come from bacteria (see our guide to why well water smells like rotten eggs).
One important caveat from the Maine CDC Drinking Water Program: if bacteria are getting in through a damaged casing, a bad casing seal, a faulty pitless adapter, or a casing that ends too close to the ground, no amount of shocking will fix it permanently. If the bacteria come back after a correct shock treatment, call a licensed well contractor to inspect the well.
What you need
- Plain, unscented liquid laundry bleach. The label should list sodium hypochlorite at roughly 5–9%. Never use scented, “splash-less” or “color-safe” bleach; the additives can foam and leave residue.
- Two clean 5-gallon buckets (or a few 2-gallon buckets) for diluting the bleach.
- A garden hose long enough to reach from an outdoor faucet back to the wellhead.
- Rubber gloves and eye protection. Chlorine burns skin and eyes.
- Your well log (or driller’s report), which lists the well diameter, total depth and static water level.
- A coliform test kit or lab bottle for the retest.
Step 1: Work out how much water is in your well
You dose chlorine based on the water standing in the well, not the total depth of the well.
Water depth = total well depth − depth to the water level
Both numbers are on your well log. If you do not have one, your state or county well records office, or the driller, can usually provide it.
Then multiply the water depth by the gallons per foot for your casing size:
| Casing diameter | Gallons of water per foot |
|---|---|
| 2 inches | 0.16 |
| 4 inches | 0.65 |
| 6 inches | 1.47 |
| 8 inches | 2.61 |
Finally, add about 100 gallons for the pressure tank, water heater and household pipes. This is the approach used by the Montana DEQ and University of Georgia Extension.
Example: A 6-inch well that is 200 feet deep with the water level at 100 feet has 100 feet of water.
100 ft × 1.47 gal/ft = 147 gallons in the well + 100 gallons for plumbing = about 250 gallons to treat.
Step 2: Choose your bleach dose
Extension guidelines target a chlorine concentration between 50–100 ppm (Oregon State University) and 200 ppm (Montana DEQ, University of Georgia). Higher doses are used for stubborn bacteria and for wells with iron or sulfur, which use up chlorine.
Bleach needed per 100 gallons of water:
| Bleach strength (on the label) | For ~100 ppm | For ~200 ppm |
|---|---|---|
| 5.25–6% (regular) | 1.5 pints (3 cups) | 3 pints (6 cups) |
| 8.25% (concentrated) | 1 pint (2 cups) | 2 pints (4 cups) |
For the 250-gallon example above, using regular 6% bleach at 200 ppm: 2.5 × 3 pints = 7.5 pints, just under 1 gallon.
Don’t want to do the math? This quick chart from Oregon State University’s Well Water Program gives approximate amounts of ordinary bleach for about 100 ppm in the well itself (add extra for the plumbing):
| Well diameter | Under 50 ft of water | 50–100 ft | 100–150 ft | 150+ ft |
|---|---|---|---|---|
| 4 inches | 1 cup | 2 cups | 3 cups | 4 cups |
| 6 inches | 2 cups | 4 cups | 6 cups | 8 cups |
| 8 inches | 4 cups | 8 cups | 8 cups | 12 cups |
More chlorine is not better: too much is harder to flush out and can corrode metal parts in the well. Aim for the range above.
Step 3: Open the well safely
Turn off power to the pump at the breaker before you touch the wellhead.
- If the well has a flat or domed cap with no pipes sticking out, you can usually unbolt and lift it off.
- If pipes come out of the cap, do not remove the bolts. On these caps the bolts hold the seal plate, and the pump’s weight may hang from the cap. Removing them can drop parts down the well. Use the vent opening instead, or call a well professional.
Step 4: Dilute and pour the bleach
Mix the bleach with water in your buckets, about 2 cups of bleach or less per 2 gallons of water, as Oregon State recommends. Straight bleach can corrode the pump and wiring.
Pour the solution slowly down the well, avoiding the electrical wiring, and without splashing your skin or clothes.
Step 5: Circulate the chlorine
- Turn the pump power back on.
- Connect the hose to the outdoor faucet nearest the well and run the water until you smell chlorine.
- Put the hose end back into the top of the well and let it run for 15–20 minutes, washing down the inside of the casing as it recirculates.
- If you never smell chlorine, add more diluted bleach and repeat.
Step 6: Send chlorine to every faucet
Open every tap in the house one at a time, hot and cold, plus showers, tubs, outdoor spigots and toilets. Close each one once you smell chlorine. Running the hot side draws chlorinated water into the water heater.
Bypass water treatment equipment (softeners, carbon filters, reverse osmosis) unless the manufacturer says it can handle a chlorine shock. Chlorine can damage some filter media and membranes.
Step 7: Wait 6–12 hours
Leave the chlorinated water in the system for 6 to 12 hours. Overnight is ideal; Montana DEQ lists 2 hours as the absolute minimum. Do not drink or cook with the water during this time. A few toilet flushes are fine.
Step 8: Flush the chlorine out
- Run an outdoor hose away from lawns, gardens, streams and ponds until you can no longer smell chlorine. This can take several hours.
- Then run the indoor taps briefly to clear the pipes.
- Keep as much chlorinated water as possible out of your septic system; large amounts of chlorine can kill the bacteria the septic tank needs.
Step 9: Retest for bacteria
Wait about 3 days after the chlorine smell is gone, then collect a sample for coliform bacteria. Testing too soon can give a false “clean” result because chlorine is still present.
Keep drinking bottled or boiled water until you receive a clean result. If the retest is still positive, repeat the shock once. If bacteria come back again, have a licensed well contractor check the casing, cap and seals.
Frequently asked questions
How long does bleach stay in well water after shocking?
Until you flush it. After flushing, a faint chlorine smell can linger for a day or two. Do not retest for bacteria until the smell is completely gone.
Can I shower after shocking my well?
Not during the 6–12 hour contact period. After you flush the system and the chlorine smell is gone, showering is fine, but hold off on drinking until a clean test result.
How often should I shock my well?
Only when there is a reason: a positive bacteria test, flooding, or work on the well. Routine shocking is not recommended. Test your well for bacteria at least once a year.
Is it safe to shock a well myself?
Many homeowners do, following state or university guidance. If you are not comfortable working around the wellhead, pump wiring or chlorine, a licensed well contractor can do it.
Why does my well still test positive after shocking?
Usually because too little chlorine was used, the contact time was too short, or contamination is still getting in through the casing, cap or seal. A persistent problem needs a professional inspection.
Related guides
- Why does my well water smell like rotten eggs?
- Coliform bacteria in well water: what a positive test means
- Well water testing: what to test for and how often
Sources
- Oregon State University Well Water Program – Shock Chlorination
- Maine CDC Drinking Water Program – Procedure for Shock Chlorination
- Montana DEQ – Disinfecting Your Water Supply (Fact Sheet 101)
- University of Georgia Extension – Well water has rotten-egg smell? You can fix that
This guide is for general information. Always follow your state health department’s instructions and the manufacturer’s guidance for your pump and treatment equipment.


Leave a comment